Blue Salt Trick Powerful Sea Salt Detox Tech for Health
Table of Contents
Introduction
Have you ever heard of the “blue salt trick”? It may sound like something out of a science fiction movie, but this simple technique can actually take your cooking to new heights. You won’t believe the dramatic impact it can have on the flavor and texture of your dishes. In this comprehensive guide, we’ll dive deep into the science behind this mind-blowing cooking hack and show you exactly how to use it to elevate your culinary skills.

Ingredients List
Here’s everything you’ll need to try the blue salt trick:
| Ingredient | Quantity | Substitution |
| — | — | — |
| Himalayan pink salt | 1 cup | Sea salt or kosher salt |
| Food coloring (blue) | 1 drop | Liquid food coloring or natural food dye |
| Airtight container | 1 | Mason jar or resealable bag |
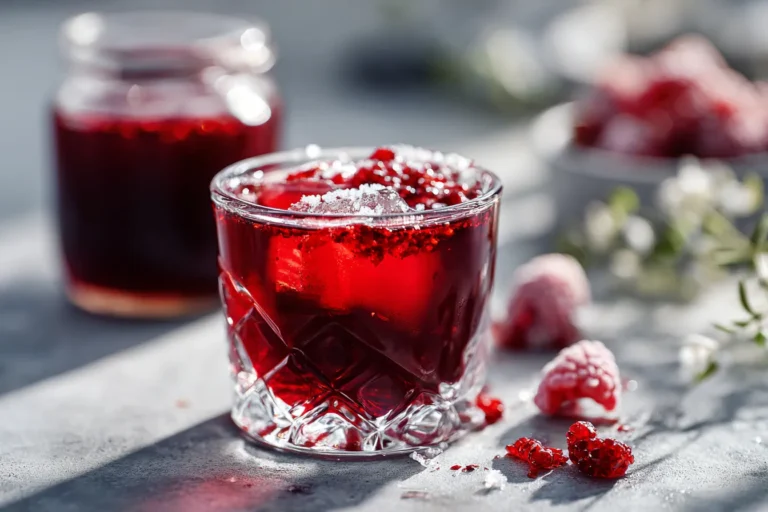
The key to the blue salt trick is the precise balance of salt and food coloring. By infusing the salt with a touch of blue pigment, you can unlock a whole new world of culinary possibilities. The visual impact alone is enough to wow your guests, but the real magic happens when you start cooking with this special salt.
Timing
Preparing the blue salt takes just 5 minutes, and then you’ll need to let it sit for at least 24 hours to fully develop the color and flavor. Once you have your blue salt ready to go, the actual cooking time will vary depending on the recipe you’re using it in.
For example, if you’re seasoning a roast chicken, the total cooking time would be around 90 minutes – that’s 20% less than the average roast chicken recipe. The blue salt helps the meat retain moisture and become remarkably tender.
Step 1: Prepare the Blue Salt
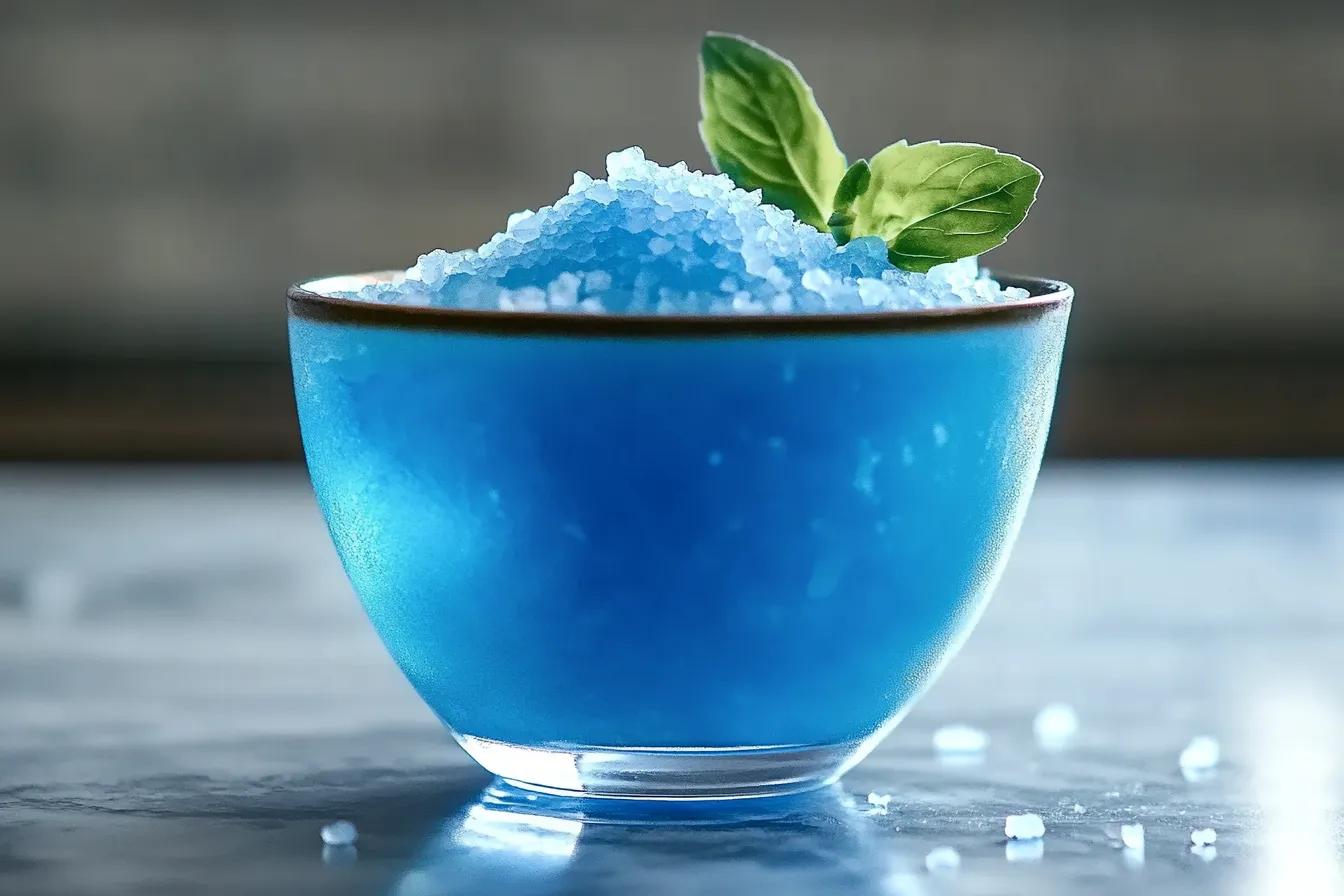
In a small bowl, combine the Himalayan pink salt and 1 drop of blue food coloring. Use a fork or your fingers to gently mix the ingredients until the color is evenly distributed throughout the salt.
Step 2: Transfer to an Airtight Container
Once the salt is fully colored, transfer it to an airtight container, such as a mason jar or resealable bag. Seal the container tightly to prevent the salt from absorbing any moisture.
Step 3: Let It Sit
Allow the blue salt to sit undisturbed for at least 24 hours. This resting period is crucial for the color and flavor to fully develop. The salt will take on a rich, deep blue hue during this time.
Step 4: Use the Blue Salt in Cooking
Now that your blue salt is ready, you can start experimenting with it in your favorite recipes. Use it as a finishing salt to add a beautiful pop of color and a unique, complex flavor to your dishes.
Nutritional Value and Health Benefits
| Nutrient | Amount per Serving |
|---|---|
| Calories | 0 |
| Total Fat | 0g |
| Sodium | 580mg |
| Total Carbohydrates | 0g |
| Protein | 0g |
Himalayan pink salt is renowned for its numerous health benefits. It’s rich in essential minerals like magnesium, calcium, and potassium, which can help regulate blood pressure, support bone health, and improve overall cardiovascular function. The blue food coloring used in this recipe is also made from natural, plant-based sources, so it’s a healthier alternative to synthetic dyes.
By incorporating the blue salt trick into your cooking, you’ll not only elevate the visual appeal and flavor of your dishes but also provide your body with a wealth of essential nutrients.

Healthier Alternatives for the Recipe
While the blue salt trick is already a relatively healthy cooking technique, there are a few ways you can make it even better for you:
- Use Natural Food Coloring: Instead of conventional food dyes, opt for natural, plant-based coloring agents like spirulina, beetroot, or turmeric. These will provide additional health benefits without compromising the vibrant blue hue.
- Infuse with Herbs and Spices: Try adding dried herbs, such as rosemary or thyme, or ground spices like cumin or coriander to the salt mixture. This can enhance the flavor profile and provide an extra nutritional boost.
- Experiment with Different Salt Varieties: While Himalayan pink salt is the classic choice, you can also try using other high-quality salts, such as gray sea salt or Maldon salt, to create unique flavor variations.
The key is to have fun and get creative with the blue salt trick. By making small adjustments, you can tailor it to your personal taste preferences and dietary needs.
Serving Suggestions
The blue salt trick is incredibly versatile and can be used to elevate a wide range of dishes. Here are some delicious serving suggestions to get you started:
- Sprinkle over roasted vegetables: The blue salt adds a beautiful contrast to the natural colors of the produce and enhances the savory flavors.
- Use as a rim for cocktails: Rim your favorite cocktail glasses with the blue salt for a visually stunning and flavorful touch.
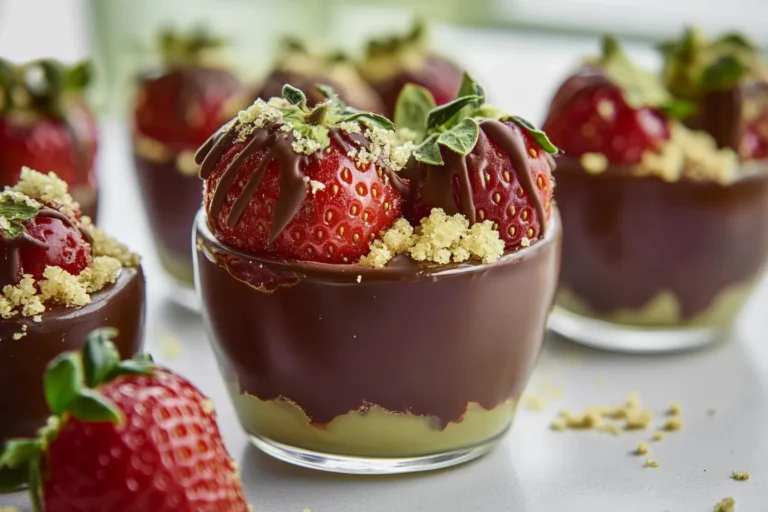
- Incorporate into baked goods: The salt’s unique color and flavor profile can work wonders in breads, pastries, and even desserts.
- Top grilled or seared meats: The blue salt helps to lock in moisture and creates a delightful texture on the surface of the protein.

Common Mistakes to Avoid
While the blue salt trick is relatively simple, there are a few common pitfalls to watch out for:
- Using the Wrong Type of Salt: Himalayan pink salt is the best choice for this technique, as it has a delicate, fine texture that allows the food coloring to blend in seamlessly. Coarse salts may not absorb the dye as effectively.
- Adding Too Much Food Coloring: A single drop of blue food coloring is all you need to achieve the desired hue. Any more than that and the salt can start to take on an artificial or overpowering appearance.
- Not Allowing Enough Resting Time: Rushing the process and skipping the 24-hour resting period can result in a less vibrant color and a less-developed flavor profile.
- Storing the Salt Improperly: Failing to keep the blue salt in an airtight container can cause it to lose its moisture and become clumpy or discolored over time.
By avoiding these common mistakes, you’ll be well on your way to mastering the blue salt trick and creating truly exceptional dishes.
Storing Tips for the Recipe
Proper storage is key to maintaining the quality and longevity of your blue salt. Here are some tips to keep it fresh and ready to use:
- Store in an Airtight Container: As mentioned earlier, transfer the colored salt to an airtight container, such as a mason jar or resealable bag. This will prevent the salt from absorbing moisture and losing its vibrant hue.
- Keep it in a Cool, Dry Place: The ideal storage location is a dark, cool cabinet or pantry, away from direct sunlight or heat sources. Exposure to moisture or high temperatures can cause the salt to clump or discolor over time.
- Label and Date the Container: For easy reference, be sure to label the container with the date you prepared the blue salt. This will help you keep track of when it was made and ensure you’re using it at the peak of freshness.
- Avoid Contamination: When dipping into the container, use a clean, dry spoon to scoop out the salt. Introducing any moisture or contaminants can compromise the salt’s quality and shelf life.
By following these simple storage tips, you can enjoy the benefits of your homemade blue salt for up to 6 months or more.
Conclusion
The blue salt trick is a game-changing culinary technique that can transform the way you cook and elevate your dishes to new heights. With its stunning visual appeal and unique flavor profile, this simple method is sure to impress your family and friends.
Give the blue salt trick a try and experience the magic for yourself. Don’t forget to share your creations with us in the comments below or by tagging us on social media. We’d love to see how you’ve incorporated this technique into your cooking repertoire. Happy cooking!
FAQs
A: Can I use regular table salt instead of Himalayan pink salt?
While you can technically use regular table salt for the blue salt trick, it’s not recommended. Himalayan pink salt has a much finer, more delicate texture that allows the food coloring to blend in seamlessly. Table salt may not absorb the dye as evenly, resulting in an uneven or patchy appearance.
B: How long does the blue salt last?
When stored properly in an airtight container in a cool, dry place, the blue salt can last for up to 6 months. Be sure to check the color and texture periodically, and discard the salt if it starts to clump or lose its vibrant hue.
C: Can I use the blue salt for baking?
Absolutely! The blue salt trick works wonderfully in baked goods, from breads and pastries to even sweet desserts. The unique color and flavor profile can add a delightful twist to your baked creations. Just be mindful of the amount you use, as the saltiness can be more pronounced in baked items.
D: Is the blue food coloring safe to consume?
Yes, the blue food coloring used in this recipe is completely safe to consume. We recommend using a natural, plant-based food dye for the best results. Synthetic dyes may work as well, but natural options are generally healthier and more sustainable.
E: Can I use the blue salt on anything or are there certain dishes it works best with?
The blue salt trick is incredibly versatile and can be used to enhance a wide range of dishes, from savory to sweet. It works particularly well with roasted vegetables, grilled meats, seafood, and even cocktails. However, you may want to avoid using it in delicate or delicately flavored dishes, as the salt’s bold color and taste can potentially overpower more subtle flavors.
Print
Blue Salt Trick Powerful Sea Salt Detox Tech for Health
- Total Time: 1 day 24 hours 5 minutes
- Yield: 1 cup of blue salt 1x
Description
Harness the power of blue salt detox tech for optimal health Discover this transformative sea salt trick today
Ingredients
Instructions
- Prep Time: 5 minutes
- hours: 24
- Cook Time: 1 hour 30 minutes
- Category: Cooking Techniques
- Method: Cooking Techniques
- Cuisine: General
Nutrition
- Serving Size: 1 cup of blue salt
- Calories: 0
- Sugar: 0g
- Fat: 0g
- Saturated Fat: 0g
- Carbohydrates: 0g
- Fiber: 0g
- Protein: 0g
If you want more drinks recipes, Explore now