Trending Recipes


Popular Recipes

Delicious Pickled Garlic Chicken Dish Flavorful Power Meal
Delicious Pickled Garlic chicken w flavorful power Easytomake meal featuring ...
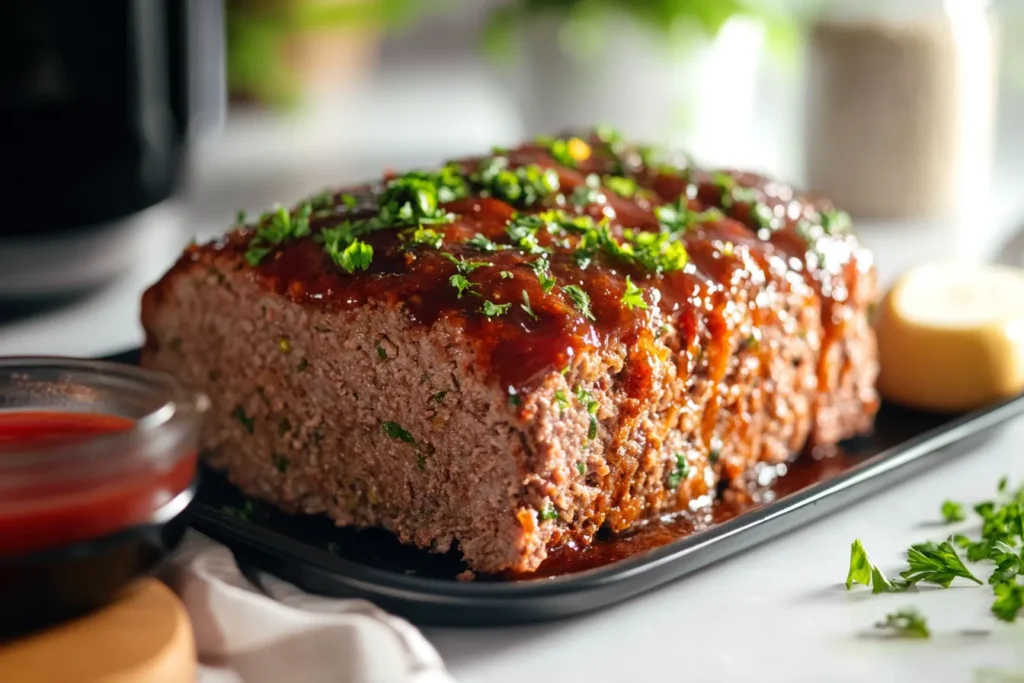
Delicious Air Fryer Meatloaf Effortless Flavorful Recipe
Effortless Air Fryer Meatloaf Flavorful recipe for juicy tender meatloaf ...

Crispy Mayo Chicken Roll Delightful Power Dish
Savor the Crispy Mayo Chicken Roll a power dish with ...

Zesty Lemon Butter Baked Cod Delightful Power Dish
Zesty lemonbutter cod dish w delightful power Easy baking tech ...
Delicious Cajun Spicy Meatloaf Juicy Savory Recipe
Savor our Cajunspiced meatloaf a juicy savory dish w Creole ...
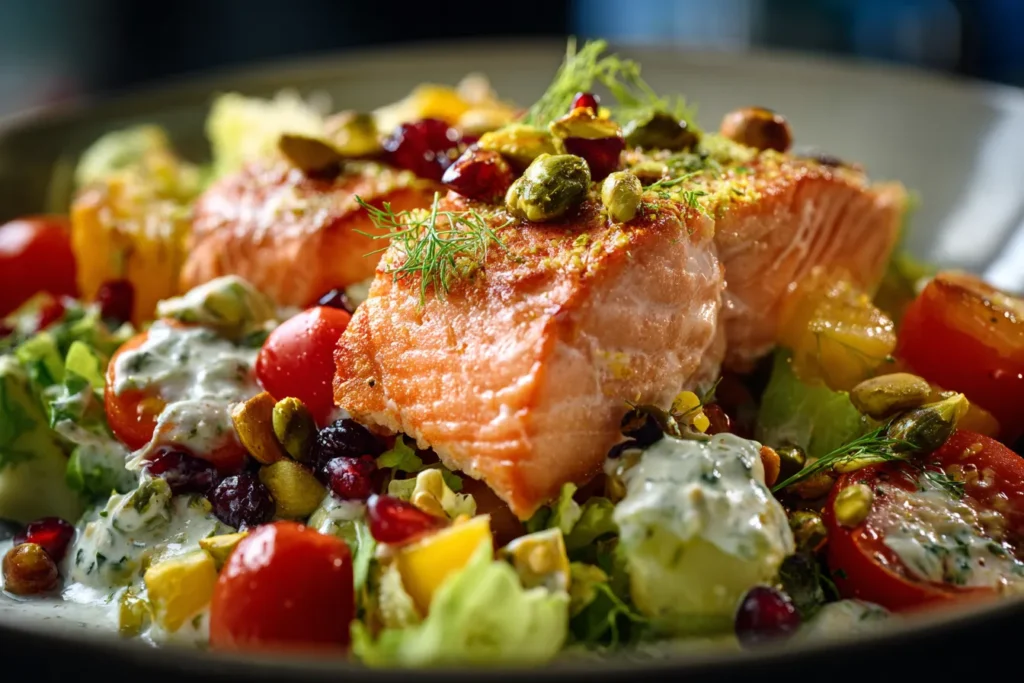
Flavorful Pistachio Salmon Salad A PowerPacked Delight
Delightful pistachiocrusted salmon atop crisp greens a powerpacked lunch or ...

Mocktail Bourbon Jam Cocktail Delightful NonAlcoholic Treat
Mocktail Bourbon Jam Cocktail Nonalcoholic treat w rich deep flavors ...
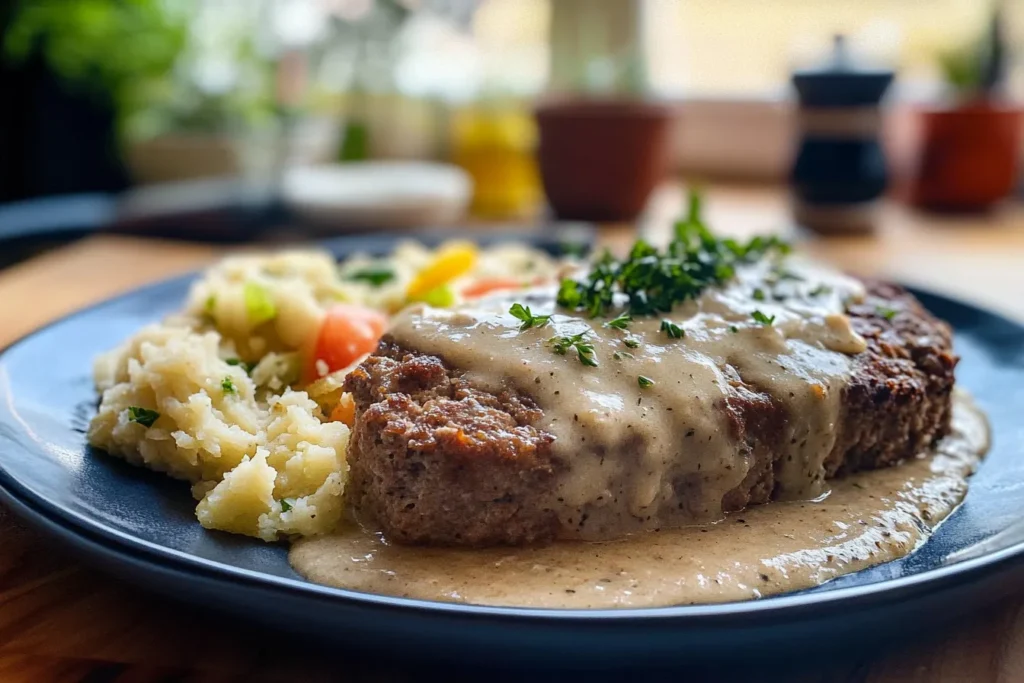
Savory Swedish Meatloaf Recipe Tender Comforting Meal
Savor this tender comforting Swedishinspired meatloaf recipe A hearty savory ...

Savory TurmericGinger Salmon Delicious Healthy Meal
Savor the combo of turmeric ginger on tender salmon Healthy ...

Creamy Tuscan Garlic Chicken Irresistible KetoFriendly Dish
Creamy Tuscanstyle garlic chicken a ketofriendly irresistible dish Indulge in ...

Spicy Honey Garlic Chicken Delicious Power Recipe
Discover the tantalizing balance of Spicy Honey Garlic Chicken A ...

Spicy Korean Gochujang Chicken Flavorful Power Dish
Flavorful Korean Gochujang Chicken dish packed w bold spicy flavors ...

Power Pickled Cocktail Recipes Unique Flavorful Drinks
PowerPacked Pickled Cocktail Recipes Unique Flavorful Drinks Explore creative pickling ...

Delicious Creamy Lemonade Drink Refreshing Power Beverage
Delicious Creamy Lemonade drink Refreshing power bev Creamy texture zest ...

Delectable Dubai Chocolate Strawberries Irresistible Treat
Indulge in the Dubai chocolatecoated strawberries a delectable treat Crafted ...
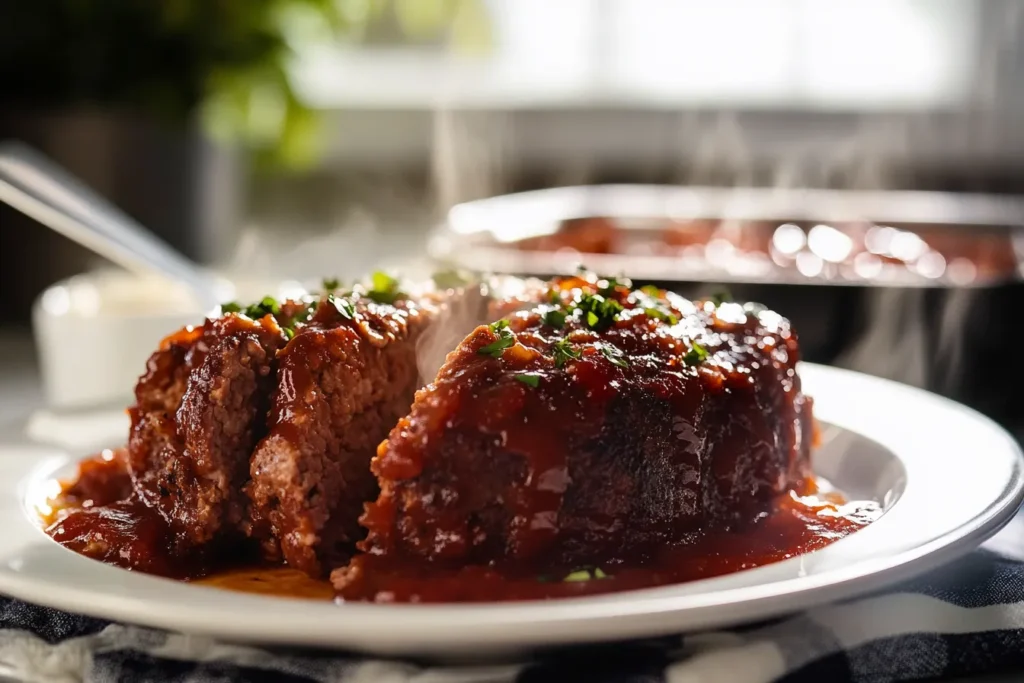
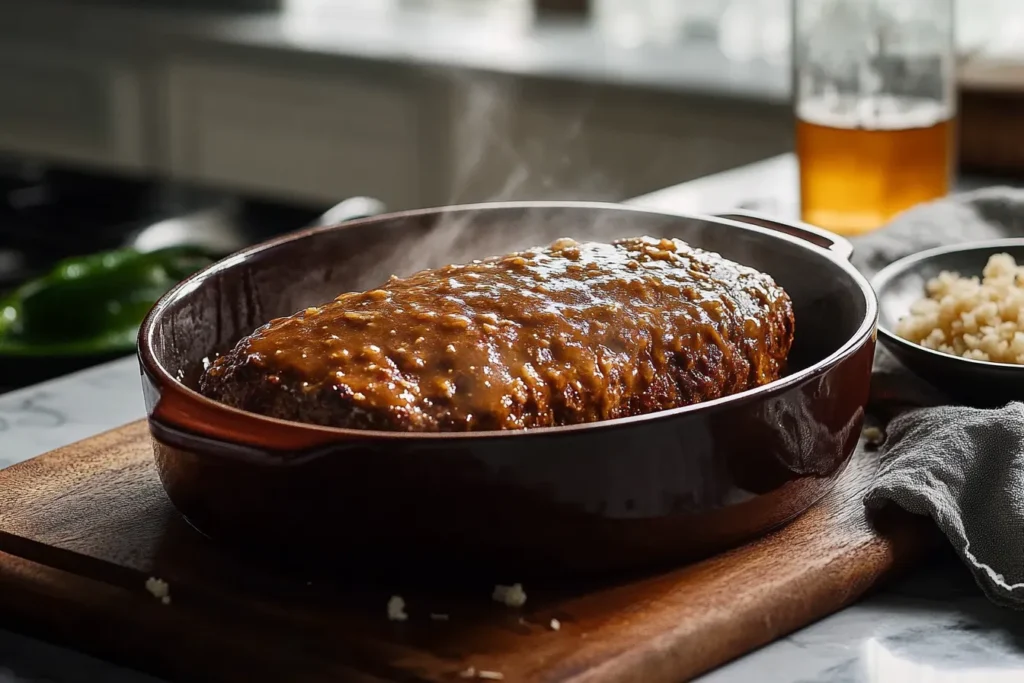
Savory Air Fryer Meatloaf with Brown Sugar Glaze Power Word
Indulge in a Savory Air Fryer Meatloaf w rich Brown ...
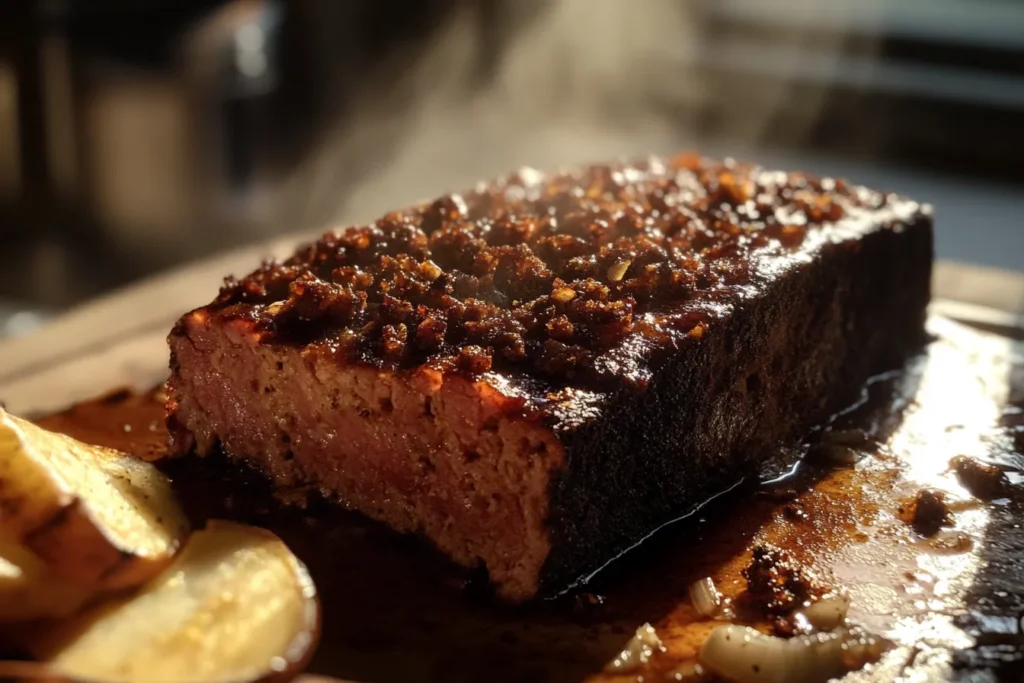
Smoked Pork Beef Meatloaf with Coffee Rub Delicious Recipe
Savor the smoky blend of pork beef in this meatloaf ...

Crispy Juicy Ranch Chicken Cutlets Delicious Power Dish
Crisp juicy Ranch chicken cutlets a delicious power dish Quick ...
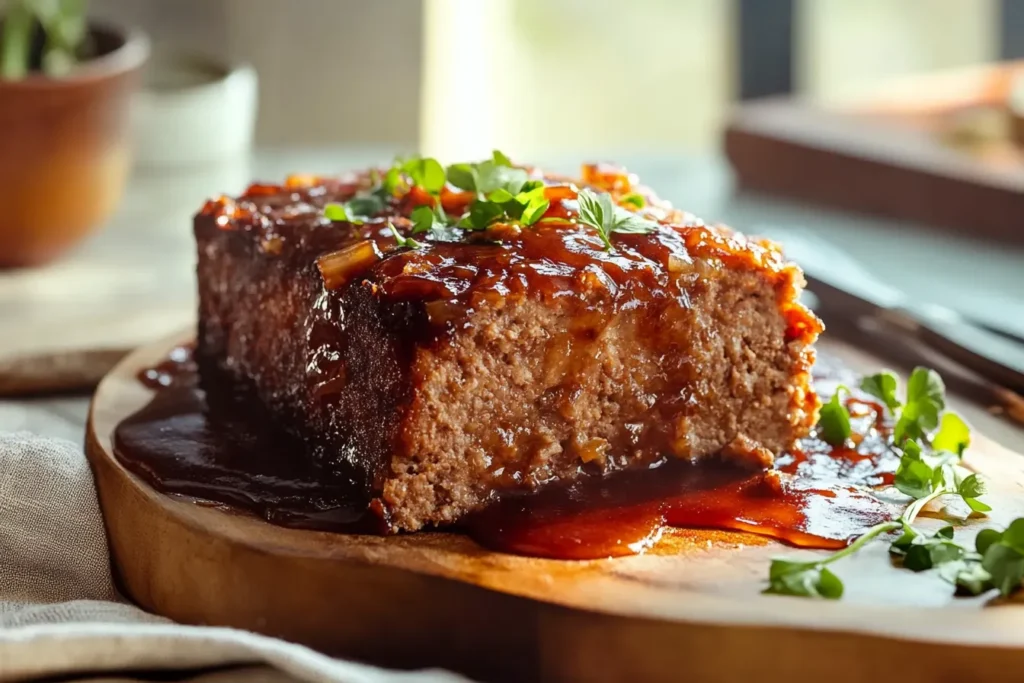
Maple Dijon Glazed Savory Meatloaf Delectable Dish
Savory mapledijon glaze elevates classic meatloaf into a delectable dish ...

Refreshing Hugo Spritz Cocktail A Delightful Aperitif
Refreshing aperitif Hugo Spritz fizzy floral balanced Sip this delightful ...
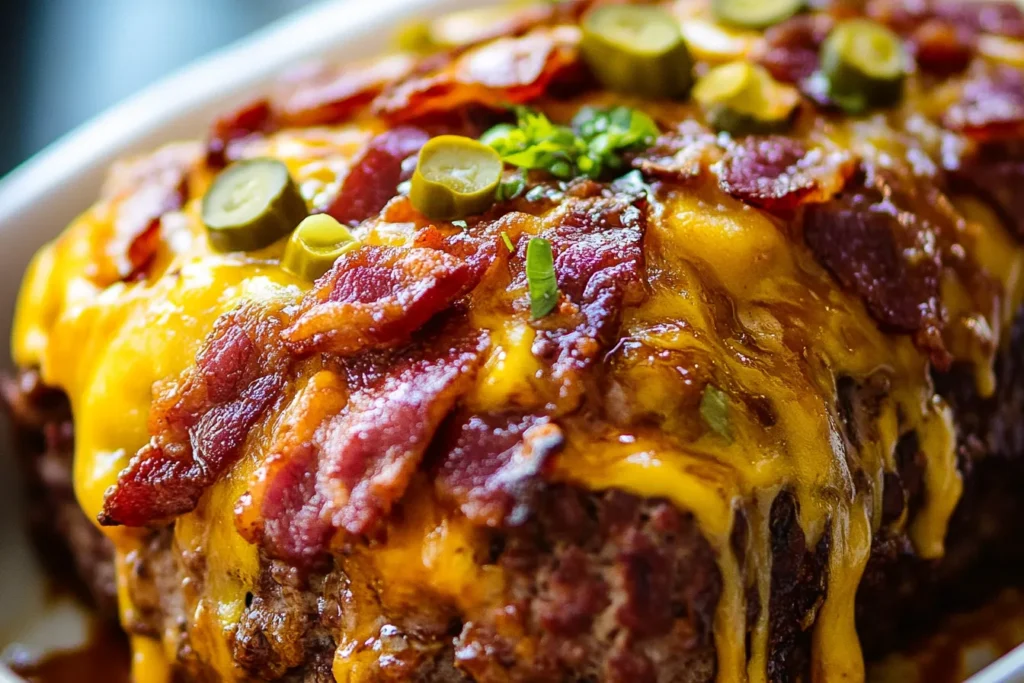
Savory BBQ Bacon Cheeseburger Meatloaf Recipe A Delicious Delight
Savory BBQ Bacon Cheeseburger Meatloaf Delicious fusion of flavors Juicy ...